
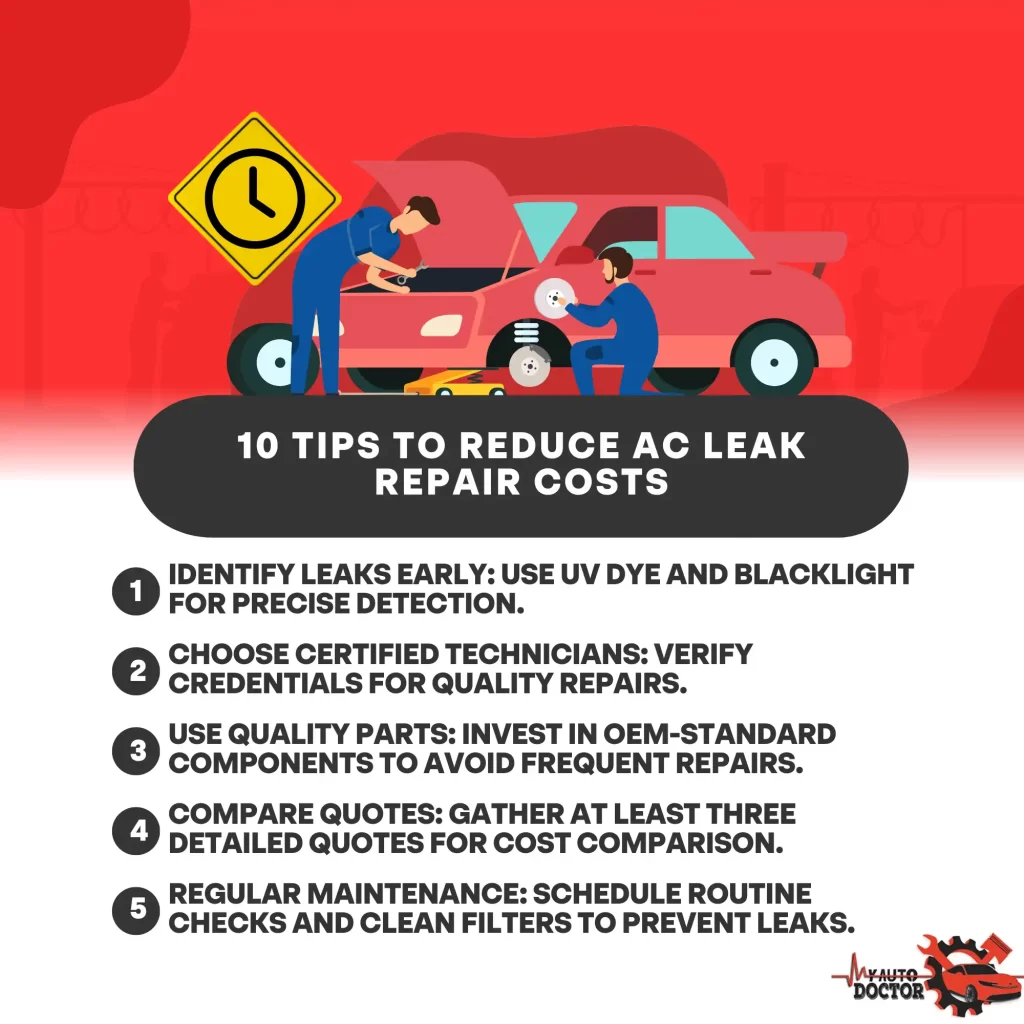
Cutting the costs of fixing an AC leak requires a blend of technical know-how and strategic planning. First, identify the leak with a diagnostic test. Use UV dye and a blacklight for precise detection. Choose certified technicians and confirm their credentials. Invest in OEM-standard parts to avoid frequent repairs. Gather and compare at least three detailed quotes. Inspect refrigerant levels and drain lines regularly. Consider DIY repairs for minor leaks with proper tools. Schedule routine maintenance and look for seasonal service discounts. Assess if the repair really meets your needs. Exploring these steps further will improve your savings and knowledge.
Key Takeaways
- Obtain at least three detailed repair quotes to compare costs and services.
- Schedule repairs during off-peak seasons to benefit from lower rates.
- Use DIY repair options like refrigerant recharge kits for minor leaks.
- Verify technician certifications to ensure quality repairs and avoid additional costs.
- Regularly maintain your AC system to prevent leaks and costly repairs.
Identify the AC Leak
Before addressing an AC leak, you’re going to need to identify the precise source of the problem. Start by conducting a car AC diagnostic, which typically costs between $100 and $200. This diagnostic will pinpoint where the leak is happening and provide a clear understanding of the issue. Knowing how much a car AC diagnostic costs upfront will help you budget for the overall repair.
Next, inspect the AC system for common leak points such as the condenser, evaporator, and refrigerant lines. Specialized tools like UV dye and a blacklight can help you locate the leak more effectively. Inject the dye into the AC system and use the blacklight to spot any fluorescent traces indicating a leak.
Understanding how much to fix a freon leak in a car can vary significantly based on the location and severity of the leak. On average, car AC leak repair costs range from $200 to $1,000. If the issue is minor, you might only need a refrigerant recharge, costing about $150 to $300. However, more severe leaks could require part replacements, increasing the overall expense. Identifying the exact source ensures you’re ready for the necessary repairs.
Choose Certified Technicians
When selecting a technician to fix your AC leak, make sure they have the proper certifications and licenses to perform the work. Verify their credentials with reputable industry organizations and check local licensing requirements. This guarantees that the technician adheres to industry standards and delivers quality service.
Verify Technician Credentials
To guarantee you’re getting the best service for your AC leak repair, always verify that the technician is certified by accredited organizations such as NATE or HVAC Excellence. These certifications confirm the technician has undergone rigorous testing and training, making them highly skilled in diagnosing and repairing AC systems.
First, ask the technician to present their certification credentials. You can usually find this information on their business card, website, or even directly ask them. Certified technicians often display their credentials proudly, and they should have no issue showing proof. When you know how much to fix AC in a car or how much does it cost to fix car AC, you’ll want to make sure your investment is in capable hands.
Next, check the certification’s validity. Organizations like NATE and HVAC Excellence have online verification tools where you can enter the technician’s certification number to confirm their status. This extra step can save you from potential future headaches and additional costs.
Check Licensing Requirements
Making sure the technician has the proper licensing is crucial for both compliance and quality assurance in fixing your AC leak. Licensed technicians are more likely to adhere to industry standards and local regulations, guaranteeing your repair job is done right.
First, verify that the technician holds an active license specific to HVAC systems. Licensing requirements can vary by state, so you’ll need to check the specific criteria for your location. Most states have an online database where you can quickly confirm a technician’s license status.
Next, confirm that the technician is insured. This protects you in case of accidents or damage during the repair process. Ask for proof of insurance and ensure it’s up to date.
Additionally, inquire about the technician’s experience with AC leak repairs. A licensed technician with a strong track record will likely have the expertise needed to diagnose and fix the leak efficiently.
Ensure Proper Certification
Besides licensing, validating that your technician holds proper certification adds another layer of credibility and expertise to their ability to fix your AC leak. Certified technicians have undergone rigorous training and testing to make sure they meet industry standards. This means they’re well-equipped to diagnose, repair, and prevent AC leaks efficiently.
Here are a few key certifications to look for:
- EPA Section 608 Certification: This is mandatory for any technician working with refrigerants. It guarantees they know how to handle these substances safely and properly.
- NATE Certification (North American Technician Excellence): This certification indicates that the technician has passed stringent exams and possesses a high level of technical knowledge.
- HVAC Excellence Certification: This includes a series of specialized certifications that validate a technician’s skills in specific areas of HVAC repair and maintenance.
Use Quality Parts
Investing in high-quality components is essential for guaranteeing the longevity and efficiency of your AC system. When selecting parts like refrigerant lines, compressors, and valves, opt for those that meet or exceed OEM (Original Equipment Manufacturer) standards. High-quality parts are less likely to fail and often come with better warranties, saving you from frequent replacements and additional costs.
Make sure the refrigerant used is compatible with your system and meets current environmental standards. Using subpar refrigerant can cause inefficiencies, increased wear on the compressor, and even damage to other components. Additionally, when replacing seals and gaskets, use materials designed to withstand the specific pressures and temperatures of your AC system.
When it comes to the filters, always choose high-efficiency particulate air (HEPA) filters or those recommended by the manufacturer. These filters trap more contaminants, improving air quality and protecting internal components from dust and debris.
Lastly, don’t overlook the importance of proper installation. Even the best parts won’t perform well if they’re not installed correctly. Always follow the manufacturer’s instructions or hire a certified technician to ensure everything is fitted and calibrated precisely. By using quality components and ensuring proper installation, you’ll maintain optimal performance and extend the life of your AC system.
Compare Repair Quotes
When dealing with an AC leak, it’s important to compare repair quotes from multiple service providers to make sure you’re getting the best value for your money. Start by reaching out to at least three different HVAC professionals in your area. This will give you a good range of prices and services offered, allowing you to make an informed decision.
When comparing quotes, pay attention to the following vital factors:
- Scope of Work: Make sure that each quote includes a detailed breakdown of the work required. This should cover diagnostics, labor, and replacement parts.
- Warranty and Guarantees: Check if the service providers offer any warranties or guarantees on their work. A reputable company should stand by their repairs.
- Experience and Credentials: Verify the credentials and experience of the technicians. Look for certifications like NATE (North American Technician Excellence) or affiliations with recognized HVAC associations.
Also, don’t just focus on the price. Sometimes, a lower quote might mean lower quality parts or less experienced technicians. It’s important to balance cost with the quality of service. By being meticulous and detail-oriented in your comparison, you’ll make sure your AC system is repaired efficiently and reliably.
Inspect AC Components
To guarantee your AC system functions efficiently, you’ll need to check the refrigerant levels and examine the drain lines for any blockages. Start by measuring the refrigerant pressure using a gauge to confirm it’s within the manufacturer’s recommended range. Next, inspect the drain lines to make sure they’re clear and properly draining condensation.
Check Refrigerant Levels
Accurate checking of refrigerant levels is crucial for diagnosing potential leaks and maintaining your AC system operates efficiently. Start by turning off your AC unit and allowing the system to equalize. Locate the service valves on the outdoor unit, usually covered by protective caps.
Using a manifold gauge set, connect the blue hose to the low-pressure valve and the red hose to the high-pressure valve. Confirm the connections are secure to prevent any false readings. Once connected, turn the AC unit back on and let it run for at least 15 minutes to stabilize the readings.
Here are a few key points to keep in mind:
- Normal pressure ranges: Low-side pressure should be between 60-80 psi, and high-side between 150-250 psi, depending on your AC model and outdoor temperature.
- Gauge readings: Compare your readings to the manufacturer’s specifications. Any significant deviations could indicate a leak or overcharging.
- Safety precautions: Always wear safety goggles and gloves when handling refrigerants as they can be hazardous.
After recording the readings, if they fall outside the normal range, you’ll need to address potential leaks or other issues. Accurate refrigerant levels ensure optimal cooling performance and prevent damage to your AC system.
Examine Drain Lines
After verifying refrigerant levels, it’s time to inspect the drain lines to make certain they are clear and functioning properly. Start by locating the drain line, typically a PVC pipe near the evaporator coil inside the air handler unit. This line is responsible for removing condensation from your AC system.
First, turn off your AC unit to guarantee safety. Then, use a flashlight to check the opening of the drain line for any visible blockages. If you notice any debris, you can use a wet/dry vacuum to suck out the clog. Attach the vacuum to the end of the drain line and let it run for a few minutes.
Next, you’ll want to clean the drain line internally. Mix a solution of equal parts water and white vinegar. Carefully pour this solution into the drain line access point near the evaporator coil. Let it sit for about 30 minutes to break down any buildup.
Check Warranty Coverage
Have you checked if your air conditioner is still under warranty, as this could greatly reduce repair costs? Many homeowners overlook this critical step, but it can save you both time and money. Start by locating your warranty documentation, which is usually provided upon purchase or installation of the unit. If you can’t find it, check the manufacturer’s website or contact the retailer.
Here are some key points to keep in mind when reviewing your warranty:
- Coverage Details: Determine what parts and services are covered. Some warranties may only cover specific components, while others include labor costs.
- Validity Period: Verify the warranty’s duration. Most AC warranties last between 5 to 10 years from the date of installation.
- Transferability: If you’ve purchased a used home, check if the warranty is transferable and if the previous owner completed the necessary paperwork.
Once you’ve confirmed the warranty coverage, contact an authorized service provider to perform the necessary repairs. They’ll often require proof of purchase and warranty documentation, so have these ready. Understanding your warranty can significantly reduce repair expenses, making it an essential first step in addressing AC leaks.
Consider DIY Options
Exploring DIY options can be a cost-effective way to address minor AC leaks, provided you have the right tools and a basic understanding of HVAC systems. Start by purchasing a high-quality refrigerant leak detector. This tool will help you pinpoint the exact location of the leak. Once identified, turn off the power to your AC unit to guarantee safety.
Next, clean the area around the leak thoroughly. Use a cloth to wipe away any dirt or debris. For small leaks, an epoxy sealant can be a quick fix. Apply the sealant as directed on the product packaging, making sure it covers the entire leak area. Allow it to cure completely before turning the AC unit back on.
For refrigerant replacement, you’ll need a refrigerant recharge kit. Follow the kit’s instructions carefully, connecting the hoses to the appropriate valves on your AC unit. Slowly add the refrigerant until it reaches the recommended pressure level.
Regular Maintenance
To guarantee your AC unit runs efficiently and to prevent leaks, schedule an annual inspection by a certified technician. Additionally, clean or replace your filters regularly, ideally every one to three months, depending on usage. These steps not only prolong the lifespan of your unit but also help you avoid costly repairs.
Inspect Unit Annually
Regular upkeep, including an annual examination of your AC unit, guarantees peak performance and helps prevent costly leaks. During these inspections, a professional will thoroughly examine your system, identifying and addressing potential issues before they become larger problems. Here’s what you can expect:
- Check Refrigerant Levels: Technicians will measure the refrigerant levels to confirm they’re within the manufacturer’s specifications. Low levels might indicate a leak that needs immediate attention.
- Inspect and Clean Coils: Evaporator and condenser coils can accumulate dirt and debris, reducing efficiency and causing undue strain on your system. Cleaning these coils ensures optimal heat exchange.
- Examine Electrical Components: Loose or corroded electrical connections can lead to system failures. Inspecting wiring and other electrical parts prevents potential hazards and operational issues.
Performing these checks annually is essential for the longevity and efficiency of your AC unit. A detailed inspection can identify minor leaks or weaknesses in the system that, if left unattended, could escalate into expensive repairs. By investing in an annual inspection, you’re taking proactive steps to maintain your unit’s health, ensuring it runs smoothly and efficiently throughout its lifespan. This not only prevents leaks but also saves you money in the long run.
Clean Filters Regularly
Maintaining clean filters is crucial for your AC unit’s efficiency and longevity. Dirty filters restrict airflow, forcing your system to work harder, which not only increases energy consumption but also accelerates wear and tear. To avoid these issues, inspect your filters every month, especially during peak usage seasons.
Here’s how you can do it: First, turn off the AC unit to guarantee safety. Locate the filter, usually found in the return air duct or the blower compartment. Slide out the filter carefully. If it’s a disposable filter, replace it with a new one. For reusable filters, vacuum off the dust and then wash it with mild soap and water. Let it dry completely before reinserting it.
Make sure to check the filter’s Minimum Efficiency Reporting Value (MERV) rating. A higher MERV rating means better filtration but could restrict airflow if your unit isn’t designed for it. Regularly cleaning or replacing filters every 30-90 days will not only improve air quality but also help prevent leaks by reducing pressure on the system. By doing so, you can extend your AC unit’s life and keep repair costs down.
Seasonal Discounts
During certain times of the year, you can take advantage of significant seasonal discounts to lower the cost of fixing your AC leak. HVAC companies often offer promotions during the off-peak seasons, such as fall and spring, when demand for air conditioning services is lower. By planning your repairs during these times, you can save a considerable amount of money.
To maximize your savings, consider the following tips:
- Monitor Promotions: Keep an eye on local HVAC companies’ websites and social media pages. They often advertise seasonal discounts and special offers that can help you save on repair costs.
- Schedule Off-Peak Service: Contact HVAC professionals during less busy times of the year. Booking your service in the fall or spring can result in lower labor costs and shorter wait times.
- Negotiate Rates: Don’t hesitate to ask for a discount. When business is slow, companies may be more willing to provide a lower rate to secure your service.
Evaluate Repair Necessity
Evaluating whether your AC leak needs immediate attention involves gauging the severity of the leak and its impact on the system’s efficiency. Start by identifying where the leak is located. Common areas include the evaporator coil, condenser coil, refrigerant lines, and connections. Examine these components closely for signs of moisture, oil stains, or frost buildup.
Next, assess the system’s performance. If your AC isn’t cooling as effectively, or if you’ve noticed an increase in your energy bills, the leak may be significant. A system low on refrigerant works harder, leading to higher operational costs and potential system failure.
Check for any unusual sounds, such as hissing, which can indicate a refrigerant leak. Additionally, take note of any foul odors, as these can signal mold growth due to moisture accumulation.
If you find evidence of a substantial leak or if the system’s efficiency is significantly compromised, it’s vital to address the issue promptly. Delaying repairs can lead to more extensive damage and higher costs. For minor leaks, monitor the situation but schedule a professional inspection to prevent future complications. Give repairs based on leak severity and system performance impact.
Conclusion
By following these tips, you’ll navigate the maze of AC repairs like a pro. Imagine the invigorating breeze of a perfectly functioning AC on a scorching summer day, all without breaking the bank. With certified technicians, quality parts, and savvy maintenance, your wallet and comfort will both thank you. So, take control, compare those quotes, and make sure every component is inspected. Your home will be a cool oasis, free from the stress of unexpected leaks.